Know When To Fold Them
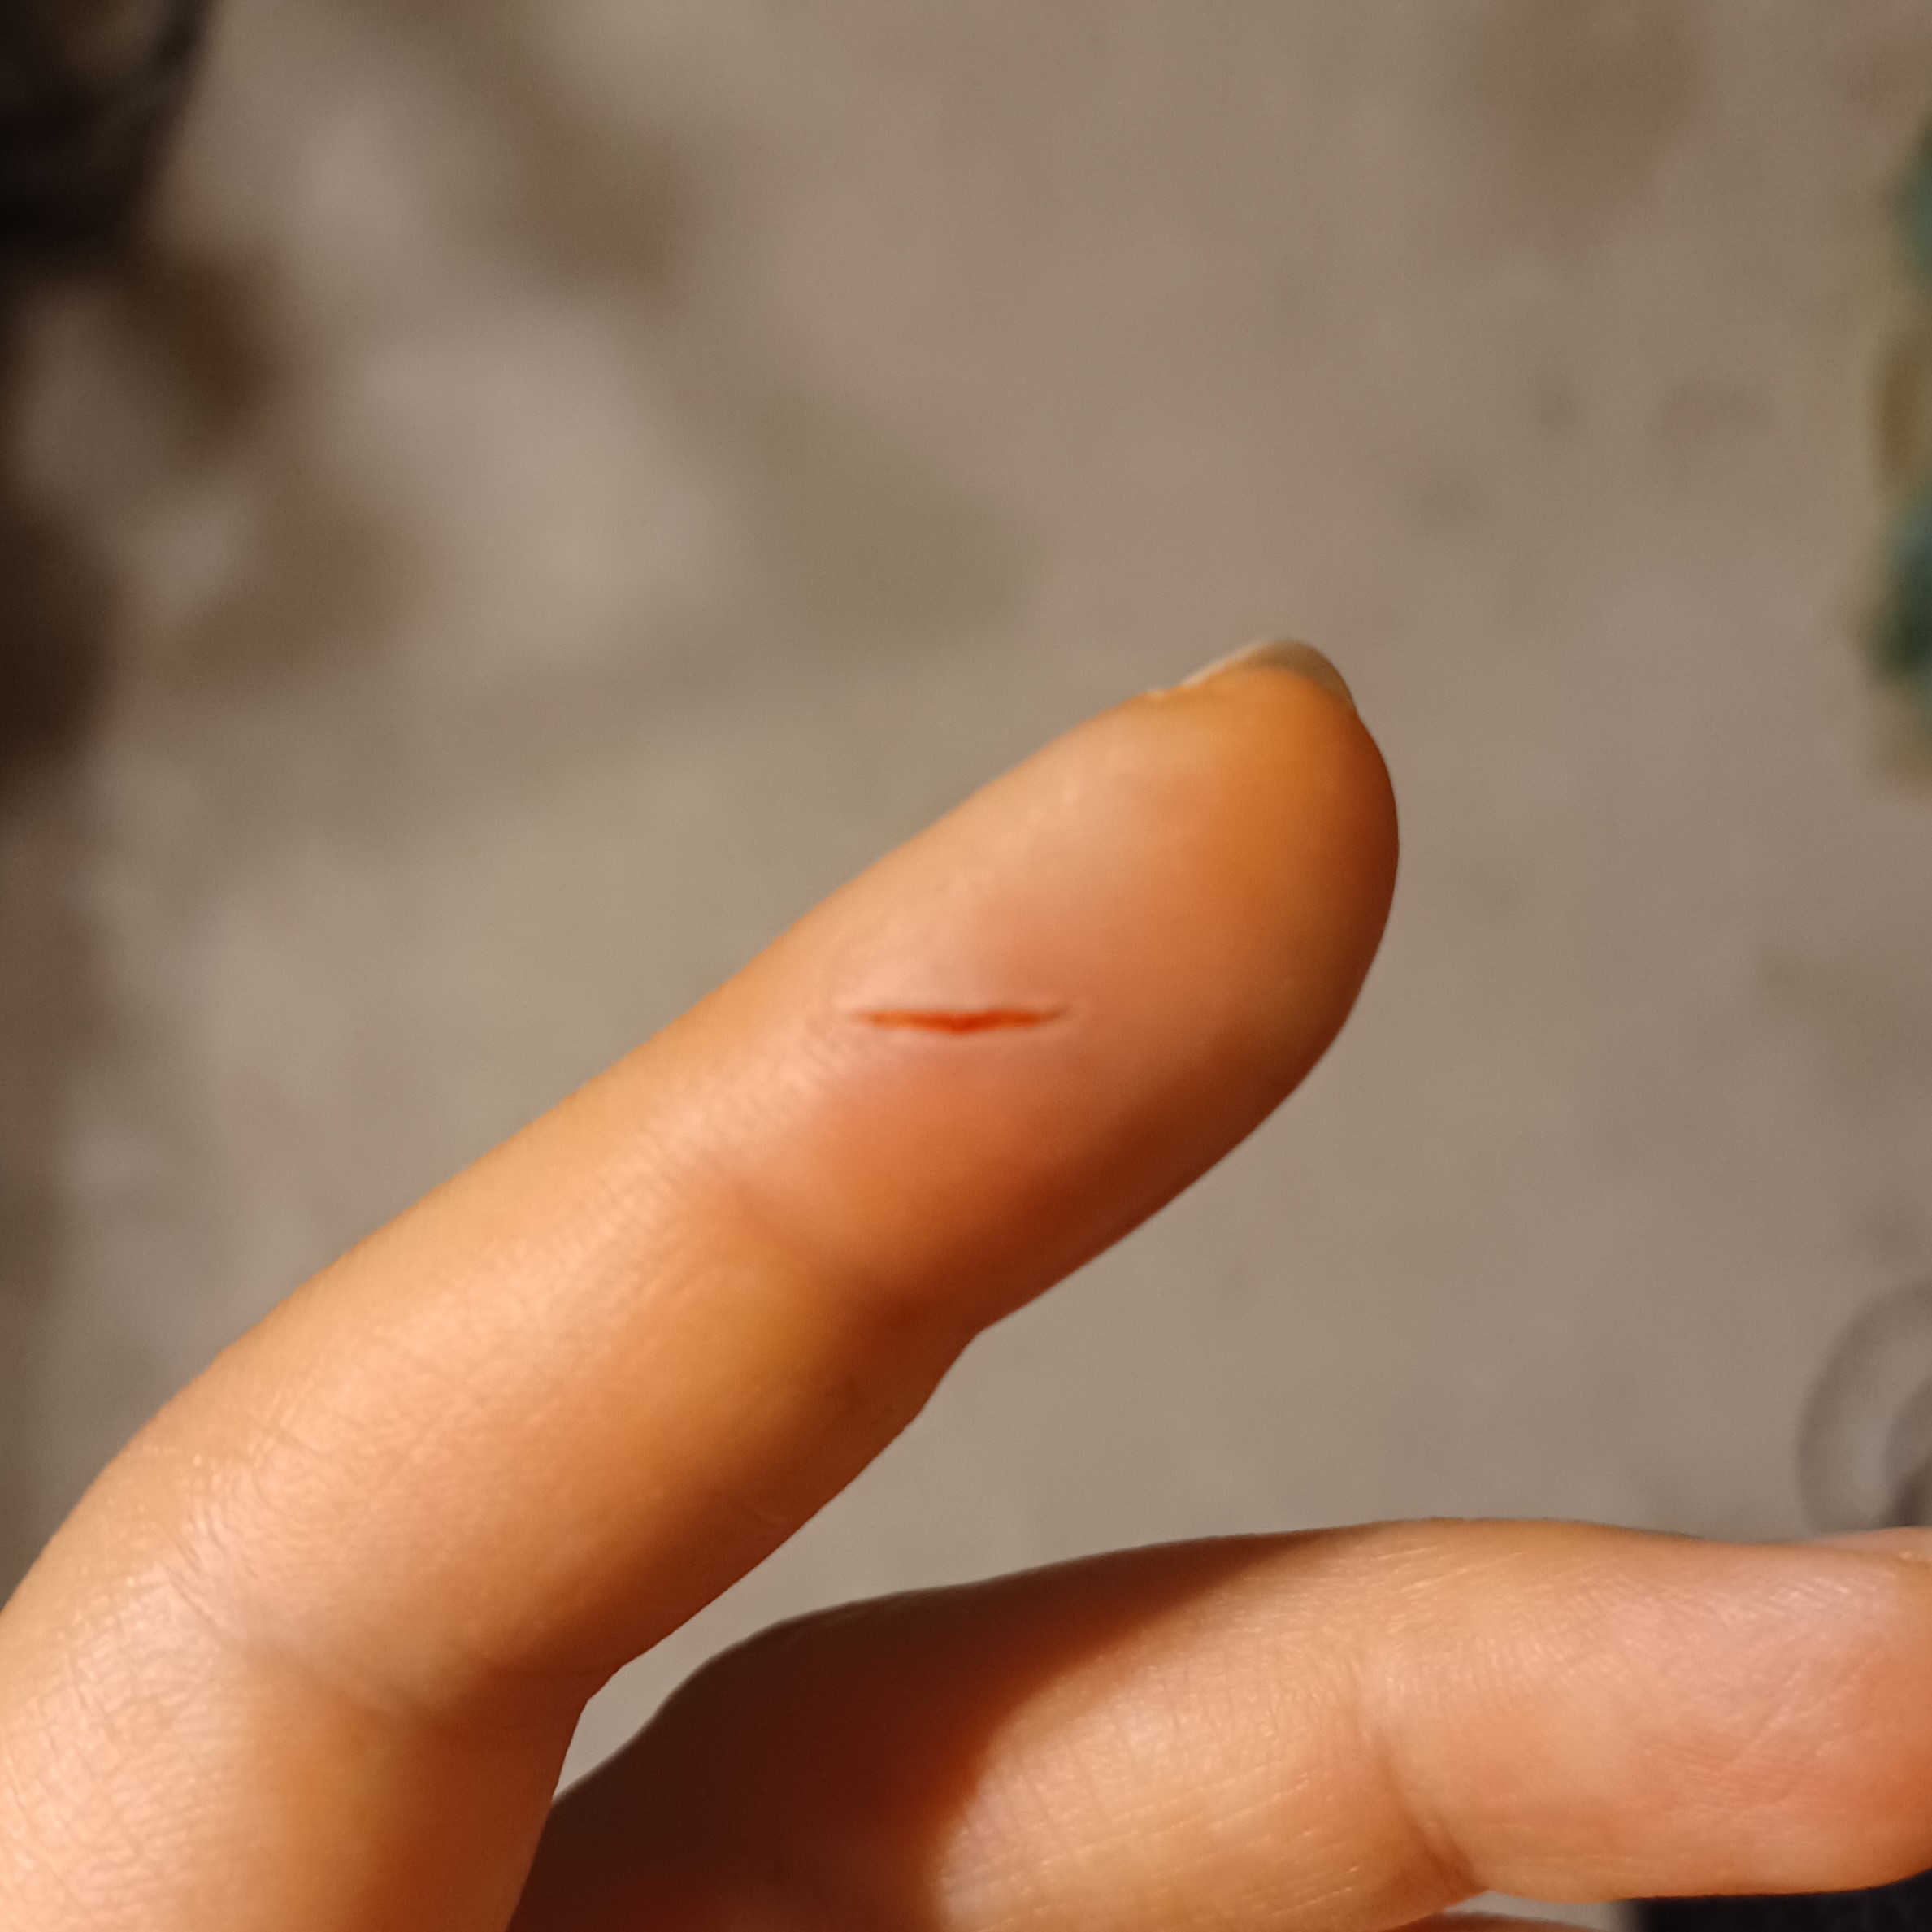
Apparently, my body can read my posts, because after the last post where I mentioned that I had hurt myself but wasn’t going to be able to get to a doctor for at least a week I woke up in the middle of the night in a bad way. You know that feeling when you hit your funny bone on something? The radiating, buzzy, pain, like a terrible current. Now imagine that feeling radiating from your shoulder, down through your elbow, down through your wrist, and into your hand; and it won’t stop. That is what I woke up to at 1:30 AM and stayed awake to for over an hour. It was not fun. The next morning I canceled the Get Out The Vote Event I was supposed to run and made a doctors appointment instead.
The doctor is pretty sure I did something to my very upper back/neck when I slipped down those stairs so she prescribed a week of steroids, muscle relaxers as needed for a month, and some physical therapy. If that doesn’t take care of it we’ll do some imaging. Of course now I need to find a new physical therapist because my long term one retired. I went on Thursday to my first new PT appointment, and she was pretty good, I think I’ll stick with her, at least for now. She agrees it’s most likely something in my upper back/neck and assigned some very low key exercises to do for a few days and I will be going back next week. The PT also thought it would be worth going to acupuncture for the increased carpal tunnel issues in my right hand; which have been steadily getting worse all summer and that I have been meaning to do something about but never prioritized. We’ll see if I actually get that appointment made; I’m very good at addressing my horses’ medical needs, not so much my own.
Overall though, I am doing better. This is a combination of the drugs and the fact that Nate has stepped up in a HUGE way in helping with the horse chores. The horses and having a horse hobby farm has always been my dream; one that Nate has supported, but hasn’t shared. I also always said from the very beginning that I knew we both hated physical labor and being hot, cold, buggy, sweaty, and/or tired and that if we didn’t have the money to do this thing right, we wouldn’t do it. Something went sideways on that path and here we are, without the money to do anything even remotely right. Despite that, Nate has continued to be amazingly supportive and helpful getting this whole thing up and running and continues to be.
At some point Nate will have to take care of the horses while I am gone (either to conferences or to Wisconsin to visit family and friends) and he has agreed to do everything but dealing with the poop. He drew the line at horse poop. Which is totally fair because I long ago drew the line and cleaning the toilet. I will clean everything else in the house and do any of the yardwork, but I categorically refuse to clean a toilet. I never have and I never will. I will pay a cleaning service to come regularly to do that one single task for me. Therefore, I was totally understanding at Nate drawing the line at poop. Since the horses came home Nate has helped with all the chores (except for poop) once a week, because having help makes the job better, but also so he would feel more comfortable about taking care of them while I’m gone. As I said in the previous post my pain in my hands/arms was steadily getting worse all week, so Nate started helping more with the chores and did everything but Juniper’s eye meds and the poop on Saturday, Sunday, and Monday. But then the morning after that horrible nighttime arm pain of awfulness Nate came out to help as he has been but when I went to start picking up poop, he took the pitchfork away from me and did it himself. I don’t think I’ve ever been more grateful of anything ever. Because I’m tall and have had so many back issues, the pitchfork handles are just too short for me, so I have developed a poop picking method that saves my back but is really hard on my hands and wrists, and of all things I have to do that is the task that hurts the most – or rather that hurts the most that I have to do the most. Other things hurt as much but I only have to do them for a minute or two, not the twenty to forty minutes every day it takes to pick up poop.
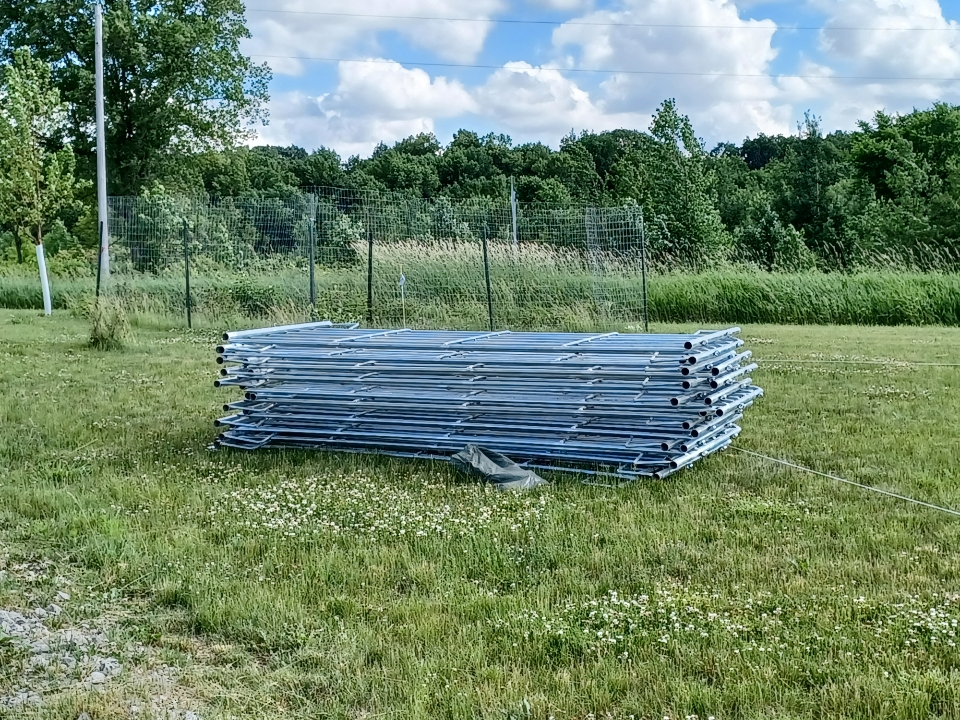
Between the medications and Nate giving my body a chance to rest I am feeling much better. We did however sit down and have a long conversation about the f***ing hay shed and the fact that my body is just not currently up to the labor and Nate has a fulltime job and we just don’t have the resources here to get the job done in the time it needs to get done. Plus get done the million other things we really need to get done before winter is truly here. So, we are admitting defeat and purchasing another pre-made shelter. Of course the company we got the first shelters from are booked out until the end of December so we’re going with a different company and its not going to match. But as Nate pointed out, the one we would have made wouldn’t have matched either. Plus – PLUS! – this company does the anchoring for you!!! Which is a huge relief, because that process sucked! Of course the money for this hay shed needs to come from somewhere, not sure the Fleet Farm job is going to bring in enough, so something else will probably have to give.
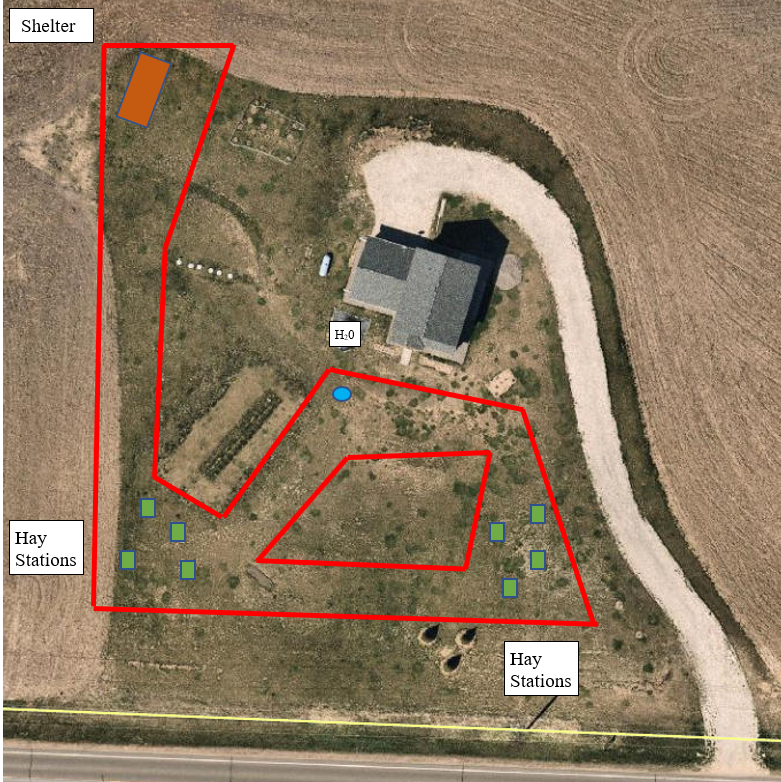
Now we will turn our attention back to the hay boxes! And the mats, and the mud control grids, and getting the gates up on the soon to be “barn” shelter, and getting the solar light hooked up in said “barn” shelter, and fixing the gate latches on the actual gates (which were cheap work-arounds that aren’t working around that much), and building another compost bay or three, and why did I think this was a good idea?!
At least I have one amazing spouse!


